Building an A-Frame Roof: Step-by-Step Guide
Building an A-Frame Roof: Step-by-Step Guide: An A-frame roof is a classic choice that brings charm and character to any building.
Building an A-Frame Roof: Step-by-Step Guide: An A-frame roof is a classic choice that brings charm and character to any building. It suits cozy cabins, rustic retreats, or modern homes, changing their look and feel. This guide will show you how to build an A-frame roof, from the basics to the final touches. Get ready for an exciting journey into building different types of A-frame roofs.
Key Takeaways
- Gain a deep understanding of A-frame roof construction and its benefits
- Learn the essential planning and preparation steps for your A-frame roof project
- Discover the step-by-step instructions for building the frame and installing the roofing materials
- Explore the importance of framing, rafters, and weatherproofing techniques
- Unlock the secrets to achieving a visually stunning and functional A-frame roof
Understanding the Basics of A-Frame Roof Construction
The A-frame roof is known for its unique triangular shape. It’s popular for its looks and practical benefits. Many homeowners and builders choose it for how to build an a frame roof or how to build a frame roof.
What is an A-Frame Roof?
An A-frame roof has two sloping panels that meet at a central ridge. This forms a triangular shape like the letter “A.” The steep pitch can be from 45 to 60 degrees. This depends on the look and function you want.
Benefits of an A-Frame Roof Design
- Energy-efficient: The steep pitch helps snow and rain run off well, reducing leaks and water damage.
- Adaptable to various styles: A-frames fit many architectural styles, from modern to rustic.
- Spacious interior: The triangular shape makes the inside feel open and airy, giving a grand feel.
- Cost-effective: A-frames are simpler and often cheaper than other roofs, great for DIY projects.
Knowing the main features and benefits of an A-frame roof helps you decide if it’s right for your next project.
Planning and Preparation for Your A-Frame Roof Project
Building an A-frame roof is exciting but needs careful planning and preparation. You must consider several key steps before starting. These steps will make your project go smoothly.
First, get the necessary permits from your local authorities. Building codes and regulations change by location. It’s important to know what you need and get the right permits before you begin. This keeps you in line with the law and avoids problems later.
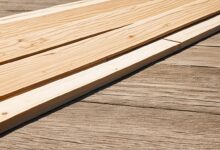
Then, pick the right materials for your A-frame roof. How to build a roof frame and how to build a flat roof frame use different materials and methods. Make sure to choose quality items that will last long.
- Lumber for the frame
- Roofing materials (e.g., shingles, metal, or synthetic)
- Fasteners and hardware
- Insulation and ventilation systems
Make sure your work area is safe during the project. This means setting up safety gear, using personal protective equipment, and following best practices. This helps prevent accidents and injuries.
“Proper planning and preparation are the keys to a successful A-frame roof project. Take the time to get everything in order, and your build will be smooth sailing.”
By planning and preparing well, you’re setting up for a successful A-frame roof project. This will make your home look great and increase its value.

How to Build an A-Frame Roof: Step-by-Step Instructions
Building an A-frame roof is a rewarding project that changes your home’s look and function. It’s great for both metal roof frames and porch roof frames. Let’s go through the steps to build an A-frame roof from start to finish.
Step 1: Laying the Foundation
The foundation is key for your A-frame roof. Start by making the site level and compacted. Then, lay down a strong concrete slab or a raised platform for your A-frame.
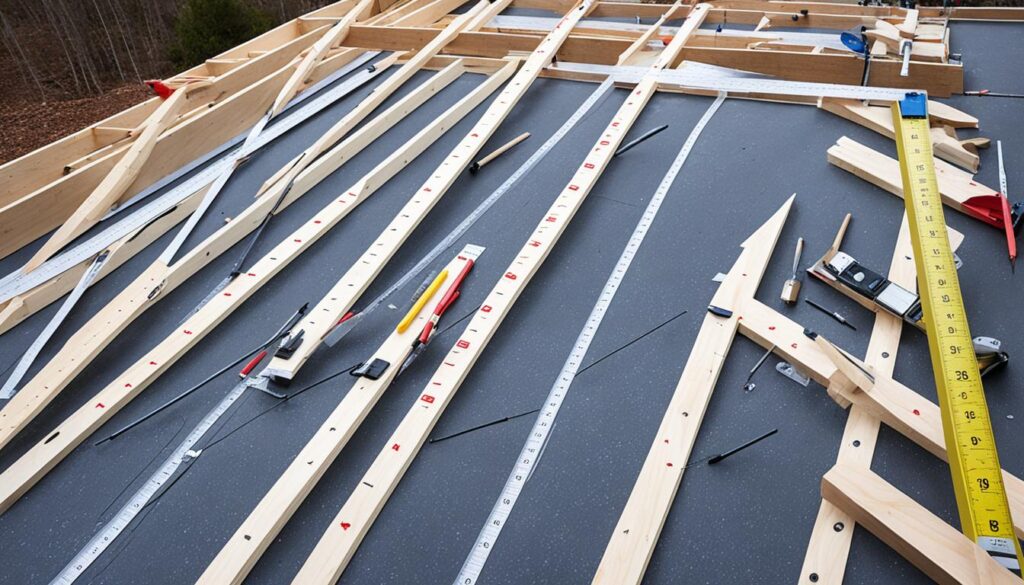
Step 2: Constructing the Frame
With the foundation ready, it’s time for the A-frame. Measure and cut the lumber for the vertical posts and diagonal rafters. Assemble the frame, using strong fasteners and bracing for stability.
- Place the vertical posts at the right width and angle, making sure they’re straight and level.
- Attach the diagonal rafters to the top of the posts, forming the A-shape of the roof.
- Add horizontal beams and cross-bracing to strengthen the frame and spread the weight evenly.
Be precise with your measurements and angles as you build the frame. This will make sure your structure is solid and can hold the roofing materials and weather.
Success in building an A-frame roof comes from careful planning and detail. By following these steps, you’re on your way to a beautiful and useful A-frame roof that boosts your home’s beauty and value.
Framing and Rafters: The Backbone of Your A-Frame Roof
Building an A-frame roof starts with the framing and rafters. They are key to the roof’s strength and balance. It’s important to get the rafter lengths and angles right for a strong roof that can handle the weather.
Calculating Rafter Lengths and Angles
To design a good A-frame roof, you need to figure out the right rafter lengths and angles. You’ll look at the roof’s height, the slope you want, and the distance between supports. With these details, you can make a roof that looks great and is strong.
Assembling and Raising the Rafters
After figuring out the rafter sizes, it’s time to put the frame together and set the rafters up. This needs careful planning to make sure everything is straight and secure. You might need special tools, like how to build a roof frame or how to build a flat roof frame, depending on your design.
Once the rafters are up, you can add more support with bracing and purlins. This makes the roof stronger and gets it ready for the roofing materials.
| Rafter Length Calculation | Rafter Angle Calculation |
|---|---|
| Measure the overall width and height of the A-frame. Use the Pythagorean theorem to determine the rafter length. Adjust the length based on the desired roof pitch. | Determine the roof pitch (rise over run). Use trigonometric functions to calculate the rafter angle. Ensure the angles are consistent across all rafters. |
Learning how to calculate rafter lengths and angles, and how to put them together, is key. This will help you build a strong and attractive A-frame roof that lasts.
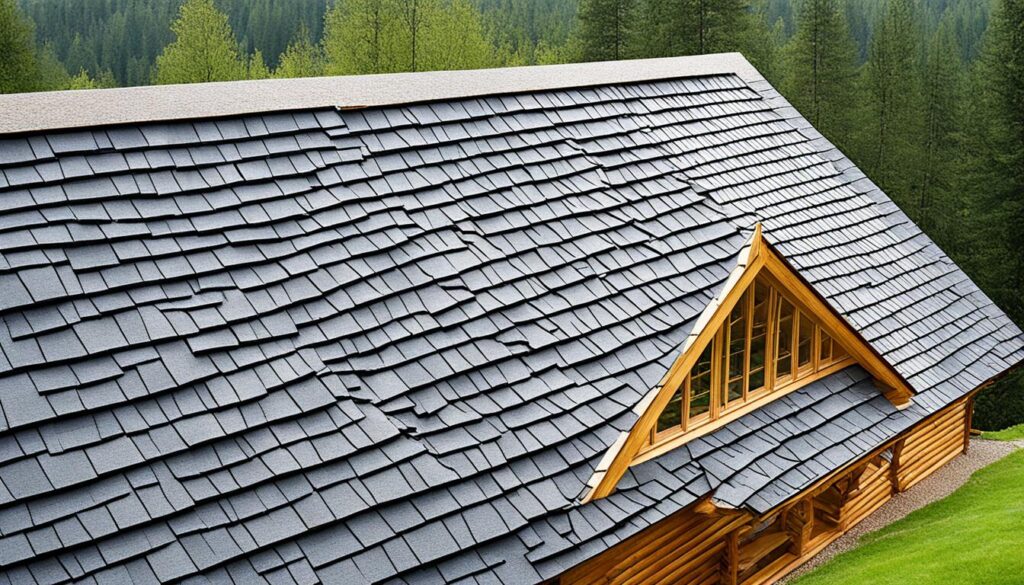
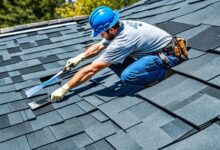
Roofing Materials and Installation Techniques
Choosing the right roofing materials and installation methods is key for a strong, weatherproof, and good-looking A-frame roof. Let’s look at the best roofing options and how to install them for your how to build a frame for a metal roof project.
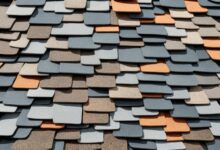
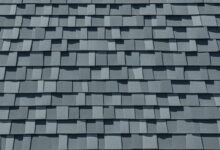
Roofing Materials for A-Frame Roofs
Popular roofing materials for A-frames include:
- Metal Roofing: Metal panels, like steel, aluminum, or copper, are durable and weather-resistant. They give a modern look and are great for how to build a frame for a metal roof projects.
- Asphalt Shingles: Asphalt shingles are affordable and provide good insulation. They give a traditional look.
- Cedar Shakes or Shingles: Cedar roofing adds a rustic touch and is weatherproof.
- Slate or Tile: These materials last long and give a unique, upscale look to your A-frame roof.
Roofing Installation Techniques
Choosing the right installation method is vital for your A-frame roof’s performance and durability. Here are important installation tips:
- Roof Framing: A strong framing is crucial for a secure roof. This means calculating rafters’ lengths, angles, and placement for a solid A-frame.
- Underlayment and Ventilation: Using a good underlayment and ventilation improves the roof’s weather resistance and energy efficiency.
- Roofing Material Installation: Follow the manufacturer’s instructions and best practices for installing your chosen material for a professional finish.
- Flashing and Sealants: Correctly installing flashing and using quality sealants prevents leaks and ensures a weatherproof roof.
By picking the right materials and following best installation methods, you can make a beautiful and functional A-frame roof. It will last through the years.
Finishing Touches and Weatherproofing Your A-Frame Roof
As you finish your how to build a frame porch roof project, focus on the final touches and making your A-frame roof weatherproof. It’s important to think about ventilation and insulation. These two things help make your home more energy efficient and protect it from the weather.
Ventilation Considerations
Good ventilation keeps your indoor air clean and comfortable. For your A-frame roof, here are some ventilation tips:
- Install ridge vents or gable vents to let warm air out of the attic. This improves airflow and prevents moisture buildup.
- Use soffit vents at the eaves to bring in fresh air and balance the airflow.
- Think about adding powered or solar-powered attic fans to move air around and boost ventilation.
Insulation: A Crucial Weatherproofing Element
Insulation is key to keeping your A-frame home at a good temperature and saving energy. When building your frame porch roof, consider these insulation choices:
- Blow-in insulation is easy to add to the attic. It’s great for thermal and sound insulation.
- Rigid foam insulation works well for the roof and walls. It has high R-values and reduces heat transfer.
- Spray foam insulation seals air leaks and offers top-notch insulation performance.
By focusing on ventilation and insulation, your A-frame roof will be ready for any weather. This keeps your home comfortable all year.
Conclusion
In this guide, we’ve covered how to build an amazing A-frame roof. We looked at the basics of A-frame construction, planning, and executing the project. Now, you have the knowledge and tools to make your dream roof a reality.
If you’re into DIY or a first-time homeowner, this article has given you the insights you need. You’re ready to take on the “how to build an a frame roof” and “how to build a frame roof” challenges. By following the steps, you can make a strong, good-looking, and energy-saving A-frame that’s perfect for your home or cabin.
Starting your A-frame roof project? Remember to focus on safety, details, and learning. With your new skills, you can turn your dream into reality. Make a space that shows off your style and architectural tastes. Enjoy the process, learn from any hurdles, and inspire others to try it too.
FAQ
What is an A-frame roof?
An A-frame roof is a triangular design that forms an inverted “V” shape. It has two sloping panels that meet at a central ridge. This creates a unique and recognizable silhouette.
What are the benefits of an A-frame roof design?
A-frame roofs are energy efficient and adaptable to many building styles. They have a distinctive look. The triangular shape helps distribute heat well, which can lower heating and cooling costs.
They can match different architectural styles, from modern to rustic. This makes them versatile.
What are the essential steps in building an A-frame roof?
Building an A-frame roof involves several key steps: 1. Start with a solid foundation. 2. Build the frame. 3. Calculate and assemble the rafters. 4. Choose and install the right roofing materials. 5. Make sure it’s well-ventilated and insulated for efficiency and weather resistance.
How do I calculate the necessary rafter lengths and angles for an A-frame roof?
Calculating rafter lengths and angles is vital for a strong A-frame roof. You need to consider the roof’s pitch, span, and height. Online calculators or expert builders can help you get the right dimensions.
What type of roofing materials are best suited for an A-frame roof?
Many roofing materials work well for A-frame roofs, like asphalt shingles, metal panels, cedar shakes, and slate tiles. The choice depends on looks, budget, and the local weather. Pick a material that can handle the A-frame’s unique challenges.
How do I ensure proper ventilation and insulation for my A-frame roof?
Good ventilation and insulation are key for your A-frame roof’s efficiency and durability. Use ridge vents, gable vents, or other systems for airflow and to prevent moisture. High-quality insulation, like fiberglass or spray foam, keeps temperatures comfortable and protects the roof.